若依框架开发代码生成的图片上传列表不回显问题解决!
文章目录
- 若依框架开发代码生成的图片上传列表不回显问题解决!
- 前言
- 一、问题再现
-
- 1.设计表 person(员工表) 有 id (id) \ name(姓名) \ gender (性别)\ photo (证件照)
- 2.使用若依代码生成功能,导入person表,代码生成
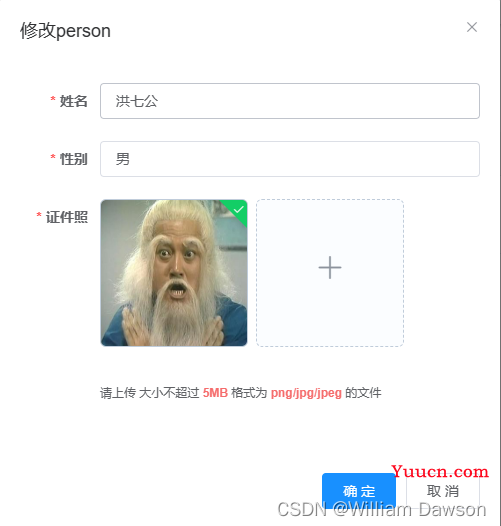
- 3.将生成的代码导入到项目中得到如下列表和表单(插入数据),图片仅在提交、修改表单中回显,列表没有显示,如下图。
- 二、问题解析
-
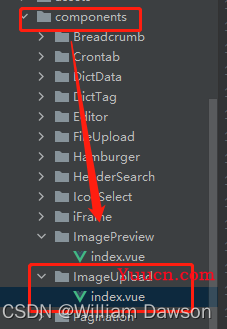
- 1.在若依框架中图片上传与回显引用了 components 组件组件中的 ImageUpload 与 ImagePreview
- 2.person.vue 使用ImageUpload组件上传图片
- 3.person.vue 使用ImagePreview组件回显图片,得到的却是OSS回传的oss_id 值,所以在 image-oreview 组件才不回显图片,这时我们需要拿到图片的url地址才是正确的回显方式。
- 4.person.vue为何会出现不回显的情况出现呢?我们找到 components > ImageUpload文件夹
- 二、问题解决
-
- 1.修改 uploadedSuccessfully 方法
- 2.添加新字段 photos 用来存放图片 url
- 3.修改前端代码与方法
- 4.回显操作
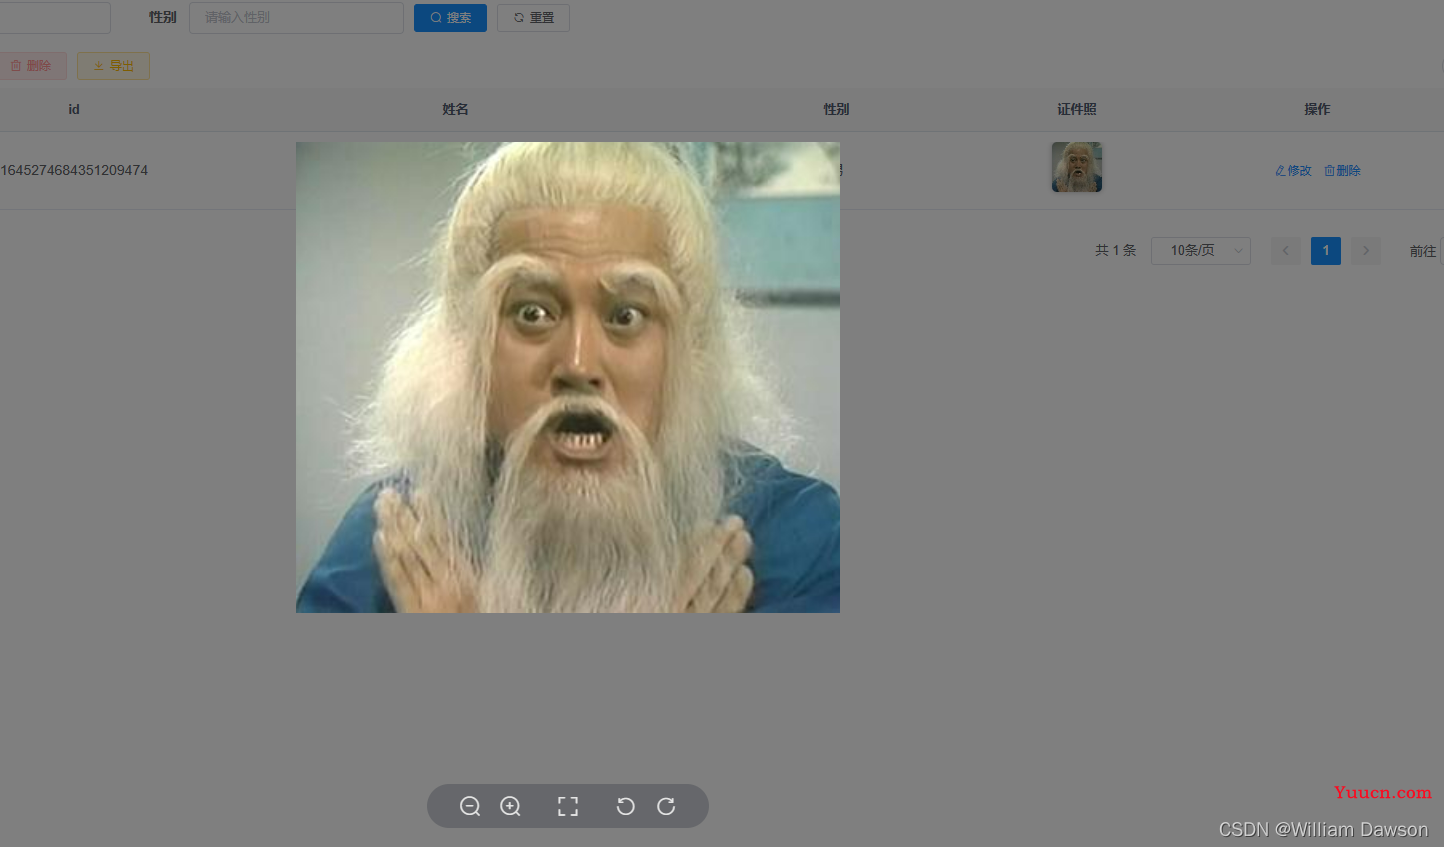
- 完成回显
- 总结
前言
使用若依框架进行项目开发的时会用到框架自带的代码生成功能,极大方便我们进行项目开发。基于框架开发肯定会有一些功能需要自行优化定制,在设计数据库表代码生成的同时有图片的展示需求,因此在若依框架中发现了图片在列表中回显不显示的问题,接下来我们看看如何解决该问题。
提示:以下是本篇文章正文内容,下面案例可供参考
一、问题再现
1.设计表 person(员工表) 有 id (id) \ name(姓名) \ gender (性别)\ photo (证件照)

2.使用若依代码生成功能,导入person表,代码生成


3.将生成的代码导入到项目中得到如下列表和表单(插入数据),图片仅在提交、修改表单中回显,列表没有显示,如下图。


二、问题解析
1.在若依框架中图片上传与回显引用了 components 组件组件中的 ImageUpload 与 ImagePreview
//mian.js
// 文件上传组件
import FileUpload from "@/components/FileUpload"
// 图片上传组件
import ImageUpload from "@/components/ImageUpload"
//*************这是分割线*****************
// 全局组件挂载
Vue.component('ImageUpload', ImageUpload)
Vue.component('ImagePreview', ImagePreview)
2.person.vue 使用ImageUpload组件上传图片
<el-form-item label="证件照" prop="photo">
	<image-upload v-model="form.photo"/>
</el-form-item>
3.person.vue 使用ImagePreview组件回显图片,得到的却是OSS回传的oss_id 值,所以在 image-oreview 组件才不回显图片,这时我们需要拿到图片的url地址才是正确的回显方式。
      <el-table-column label="证件照" align="center" prop="photo" width="100">
        <template slot-scope="scope">
          <image-preview :src="scope.row.photo" :width="50" :height="50"/>
        </template>
      </el-table-column>

4.person.vue为何会出现不回显的情况出现呢?我们找到 components > ImageUpload文件夹
查看里面的 uploadedSuccessfully 方法和数据关系,我们可以看到上传的过程中用到了OSS对象存储,这时候我们就可以从根源发现问题,在图片上传的时候对象调用了如下方法,因此回显的内容就是 oss_id 而并不是图片的 url 地址。
    // 上传结束处理
    uploadedSuccessfully() {
      if (this.number > 0 && this.uploadList.length === this.number) {
        this.fileList = this.fileList.concat(this.uploadList);
        this.uploadList = [];
        this.number = 0;
        this.$emit("input", this.listToString(this.fileList));
        this.$modal.closeLoading();
      }
    },

二、问题解决
1.修改 uploadedSuccessfully 方法
在上传图片的过程中,调用了父子组件 $emit 这时发现了什么?我们可以看到在提交图片那里可以使用 @input 来获取调用方法,这时我们可以直接获取到该图片的信息。
//****************修改前
    // 上传结束处理
    uploadedSuccessfully() {
      if (this.number > 0 && this.uploadList.length === this.number) {
        this.fileList = this.fileList.concat(this.uploadList);
        this.uploadList = [];
        this.number = 0;
        this.$emit("input", this.listToString(this.fileList));
        this.$modal.closeLoading();
      }
    },
//*****************修改后
    // 上传结束处理
    uploadedSuccessfully() {
      if (this.number > 0 && this.uploadList.length === this.number) {
        this.fileList = this.fileList.concat(this.uploadList);
        this.uploadList = [];
        this.number = 0;
        this.$emit("input", this.listToString(this.fileList), this.fileList);
        this.$modal.closeLoading();
      }
    },
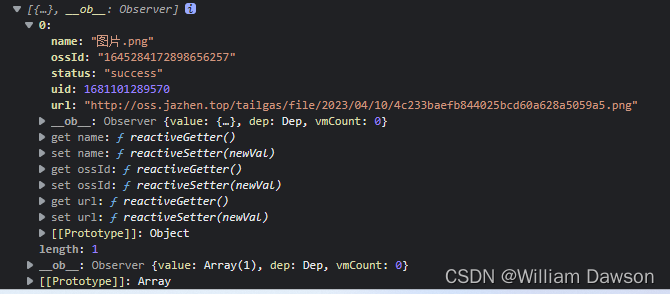
我们在控制台打印一下 this.fileList 可以看到有了我们想要的 url 了

2.添加新字段 photos 用来存放图片 url

随后在后端实体类以及 PersonMapper.xml 添加字段 photos 重新build项目并启动
3.修改前端代码与方法
添加操作:还需在表单重置方法上添加 photos:undefined
//***********修改前
        <el-form-item label="证件照" prop="photo">
          <image-upload v-model="form.photo"/>
        </el-form-item>
//***********修改后
        <el-form-item label="证件照" prop="photo">
          <image-upload @input="getImgUrl" v-model="form.photo"/>
        </el-form-item>
    // 表单重置
    reset() {
        photos:undefined
        }
添加 method 方法获取上面我们讲到的 url 并存入到我们新加的字段中去。
    getImgUrl(id,item){
      this.form.photos=item[0].url
    },
4.回显操作
列表代码:
//*********修改前:
      <el-table-column label="证件照" align="center" prop="photo" width="100">
        <template slot-scope="scope">
          <image-preview :src="scope.row.photo" :width="50" :height="50"/>
        </template>
      </el-table-column>
//*********修改后:在:src="scope.row.photos"处进行了改动
      <el-table-column label="证件照" align="center" prop="photos" width="100">
        <template slot-scope="scope">
          <image-preview :src="scope.row.photos" :width="50" :height="50"/>
        </template>
      </el-table-column>
完成回显
这时候我们就看到了回显的内容了,重新进行图片上传或修改就能看到图片了,点击查看。


是不是觉得非常有趣呢?觉得有用的话欢迎支持~
总结
每天总结一点经验,都会有量变的结果!