1、安装插件【注意Vue3使用9版本,Vue2用的是8版本】
npm install vue-i18n@next 或者 yarn add vue-i18n@next
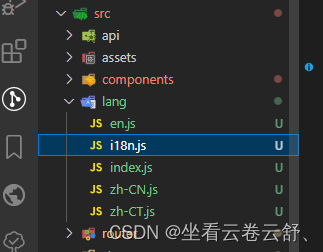
2、在src在创建lang文件夹,并创建index.js、i18n.js、和 翻译的内容文件

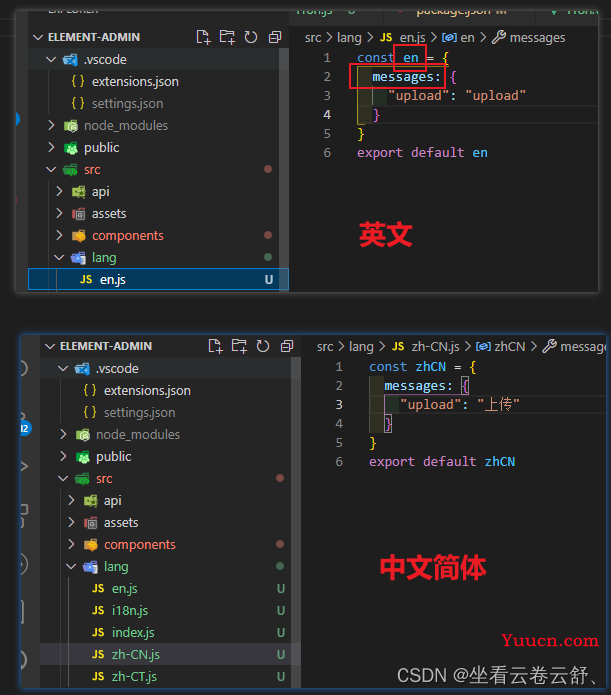
3、写入翻译内容,举个例子:英文(en)、中文简体(zhCN)、中文繁体(zhTN)

const zhCN = {
  messages: {
    "upload": "上传"
  }
}
export default zhCN
3、编写index.js文件,导出所有翻译内容
import en from './en'
import zhCN from './zh-CN'
import zhCT from './zh-CT'
export default {
  en, zhCN, zhCT
}
4、编写i18n.js文件
import { createApp } from 'vue'
import App from '../App.vue'
import { createI18n } from 'vue-i18n'
import messages from './index'
const app = createApp(App)
const i18n = createI18n({
  legacy: false, //处理报错Uncaught (in promise) SyntaxError: Not available in legacy mode (at message-compiler.esm-bundler.js:54:19)
  locale: localStorage.getItem('lang') || "zhCN", // 注意locale属性~~~~~~~~!
  messages
})
export default function (app) {
  app.use(i18n)
}
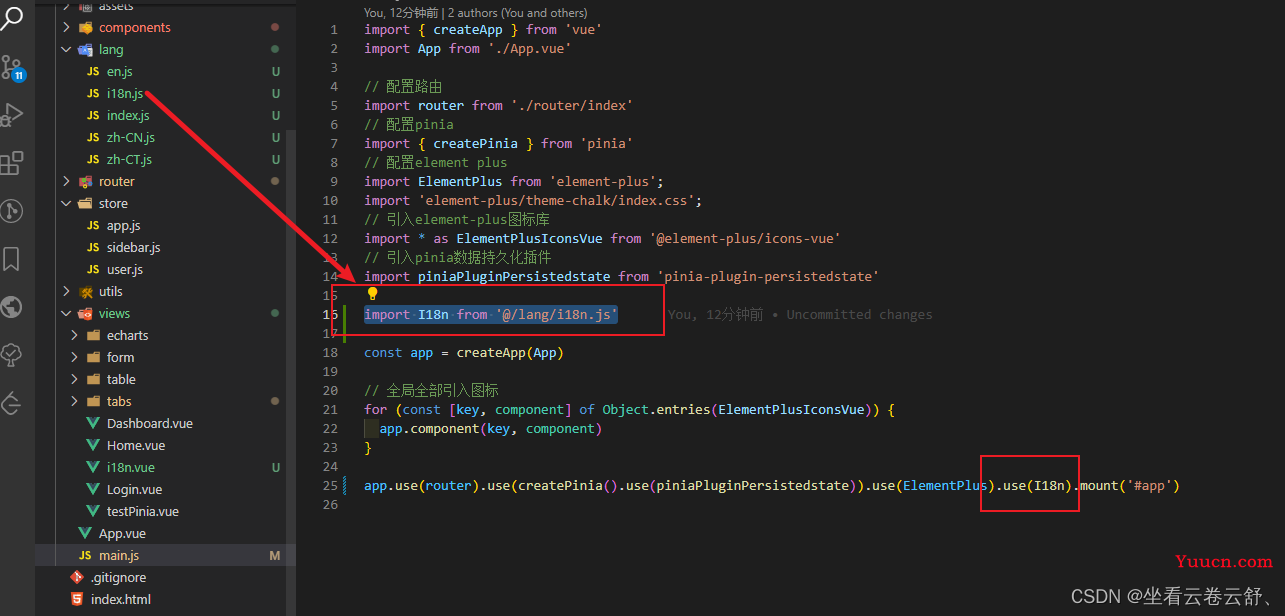
5、在main.js中挂载

至此,就可以使用按需显示语种了。
那么,当我们去改变locale的值为对应的语种时就可以做到多语言切换了~
<template>
  <!-- 国际化页面 -->
  <div>
    <span>通过切换语言按钮,来改变当前内容的语言</span>
    <el-button type="primary" @click="changeLang('en')">英文</el-button>
    <el-button type="primary" @click="changeLang('zhCT')">中文繁体</el-button>
    <div>
      <span>{{ $t("messages.upload") }}</span>
    </div>
  </div>
</template>
<script setup>
import { useI18n } from "vue-i18n";
const { locale } = useI18n();
const changeLang = (val) => {
  locale.value = val;
  localStorage.setItem("lang", val);
};
</script>
<style scoped lang='less'>
</style>
多语言
- 在vue3 template中使用多语言
<span>{{ $t("messages.upload") }}</span>- 在vue3 template中数据绑定使用多语言
<el-input type="text" :placeholder="$t('messages.placeholderTips')" />- 在vue3 setup语法糖中使用多语言:
import { useI18n } from "vue-i18n";
const { t } = useI18n();
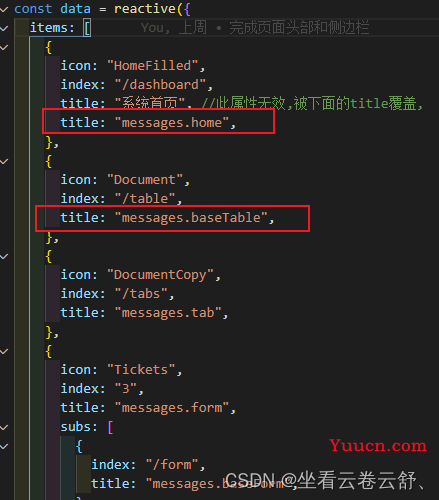
console.log('t("messages.home")', t("messages.home"))- 在vue3 中路由里使用多语言(面包屑同理)

<template #title>{{ $t(item.title) }}</template>插件官网:Getting started | Vue I18n