记录uniapp 生成二维码海报并保存到本地或者分享给微信好友
–
文章目录
- 记录uniapp 生成二维码海报并保存到本地或者分享给微信好友
- 前言
- 一、引入生成二维码的组件
- 二、点击右侧的分享图标生成海报
- 三:将canvas 图片转化成图片(最关键)
- 四:保存图片或者发送好友
- 最后
前言
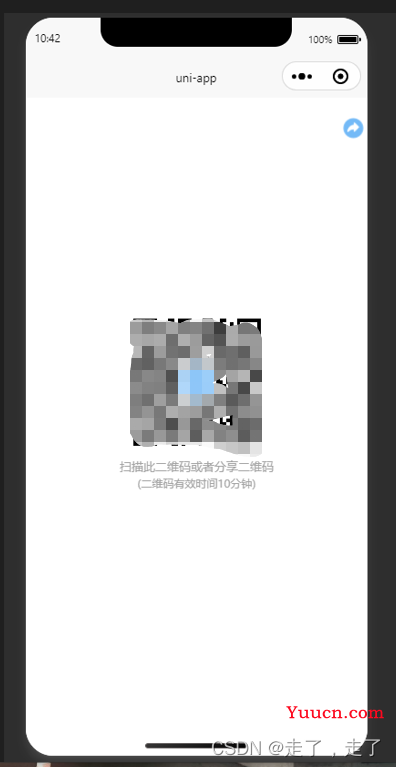
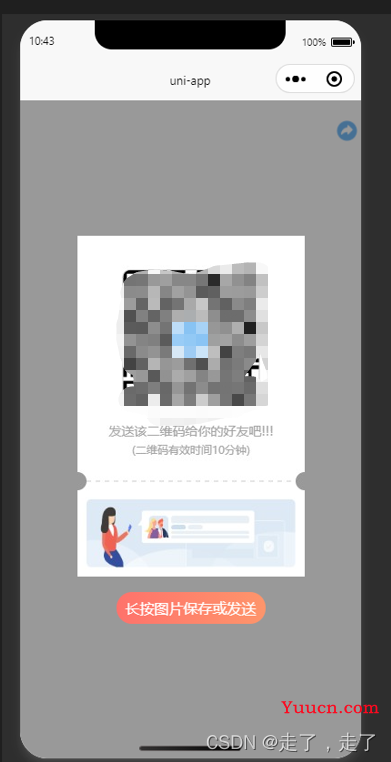
最近又遇到一个需求:用户需要将小程序生成的二维码海报分享给微信好友或者保存到本地,最后实现的效果如下:


一、引入生成二维码的组件
这种网上随便找一下就有了,楼主采用的是tki-qrcode 生成二维码组件,具体的链接如下:
链接: https://blog.csdn.net/qq_45829293/article/details/123169952
二、点击右侧的分享图标生成海报
因为考虑到到时候生成的海报要分享,所以考虑用canvas的方式去绘制海报,当然你也可以试着用传统的 写法去生成,这边楼主没有去尝试过,所以这个方法也就不说了,只说canvas 的方式
核心生成代码如下(示例):
	//初始化画布
			async __init() {
				uni.showLoading({
					title: '加载中...',
					mask: true
				})
				this.ctx = uni.createCanvasContext('my-canvas', this)
				this.canvasW = uni.upx2px(500);
				this.canvasH = uni.upx2px(750);
				//设置画布背景透明
				this.ctx.setFillStyle('rgba(255, 255, 255, 0)')
				//设置画布大小
				this.ctx.fillRect(0, 0, this.canvasW, this.canvasH)
				//绘制圆角背景
				this.drawRoundRect(this.ctx, 0, 0, this.canvasW, this.canvasH, uni.upx2px(18), '#FFFFFF')
				//小程序码
				// let qrcodeImg = await this.getImageInfo(this.qrcode)
				// this.ctx.drawImage(qrcodeImg.path,198,(((this.canvasW-hW) / 2) + hH + 135), 92, 92)
				//获取二维码的图片
				let headerImg = await this.getImageInfo(this.src)
				let hW = uni.upx2px(500);
				let hW1 = uni.upx2px(300);
				let hH = uni.upx2px(300);
				//绘制标题图
				 this.drawRoundImg(this.ctx, headerImg.path, uni.upx2px(100), hH / 4, hW1, hH, 8)
				//绘制提示
				this.ctx.setFontSize(14);
				this.ctx.textAlign = 'center' //文字居中 设置文字居中但是fillText的第二个参数必须为画布宽度一半
				this.ctx.setFillStyle('#A4A4A4');
				let sWidth = this.ctx.measureText(this.subTitle).width
				this.ctx.fillText(this.subTitle, this.canvasW / 2, (
					((this.canvasW - hW) / 2) + hH + 70))
				this.ctx.setFontSize(12);
				this.ctx.fillText(this.subTitle1, this.canvasW / 2, (
					((this.canvasW - hW) / 2) + hH + 90))
				//绘制虚线
				this.drawDashLine(this.ctx, 10, (((this.canvasW - hW) / 2) + hH + 120), (this.canvasW - 10), (((this
					.canvasW - hW) / 2) + hH + 120), 5)
				//左边实心圆
				this.drawEmptyRound(this.ctx, 0, (((this.canvasW - hW) / 2) + hH + 120), 10)
				//右边实心圆
				this.drawEmptyRound(this.ctx, this.canvasW, (((this.canvasW - hW) / 2) + hH + 120), 10)
				//提示文案
				this.ctx.setFontSize(12);
				this.ctx.setFillStyle('#858585');
				//底部广告
				let BottomAdImg = await this.getImageInfo(this.abImg)
				// 判断一下手机系统的宽高
				uni.getSystemInfo({
					success: (res) => {
						if (res.windowHeight <= 568) {
							this.ctx.drawImage(BottomAdImg.path, uni.upx2px(20), (((this.canvasW - hW) /
								2) + hH + 140), uni.upx2px(460), (this.canvasH - hH) / 4)
						} else {
							this.ctx.drawImage(BottomAdImg.path, uni.upx2px(20), (((this.canvasW - hW) /
								2) + hH + 140), uni.upx2px(460), (this.canvasH - hH) / 3)
						}
					}
				});
三:将canvas 图片转化成图片(最关键)
这一步是最关键的,只有这一步完成了,才能够实现分享给用户或者保存下来
代码如下:
this.ctx.draw(true, () => {
						// 将canvas 变成图片方便发送给好友或者保存
						var that = this
						uni.canvasToTempFilePath({
							canvasId: 'my-canvas',
							fileType: 'jpg',
							x: 0,
							y: 0,
							complete: (res) => {
								this.canvasImg = res.tempFilePath
							}
						}, this);
					})
四:保存图片或者发送好友
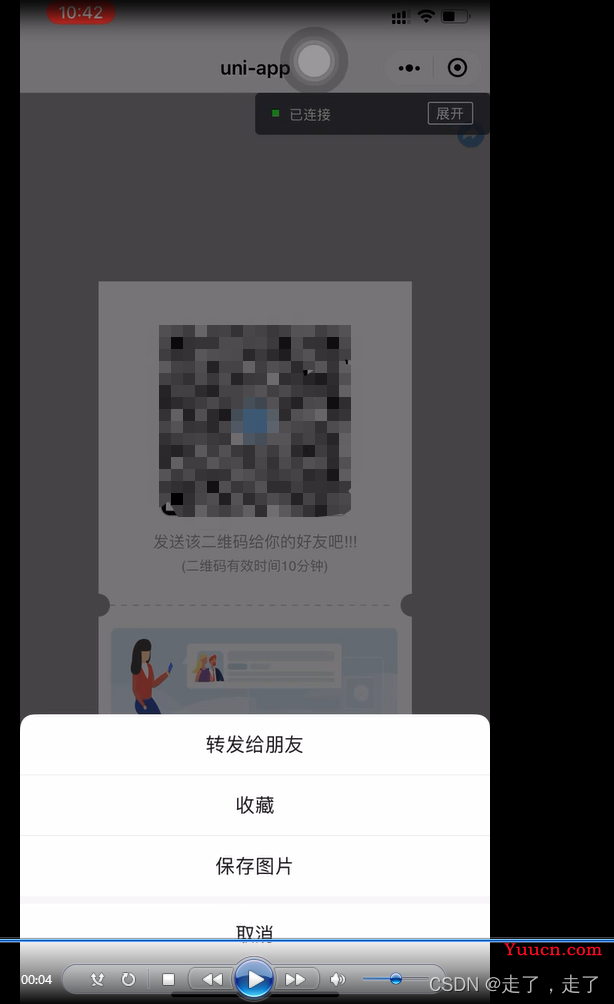
这里采用了微信原生的方式,在img 标签上加上 show-menu-by-longpress=true 就可以了。
最后
如需项目demo,请联系我:1015095073@qq.com