一,何为Element UI 及 Element Plus?
- 它们是前端框架。它是包含很多有自己风格的组件库。
- Element目前有两个版本:element-ui 及 element-plus两个版本。
- 它将HTML的基础控件进行了封装,用户只需要调用这些控件就可以了。而不需要用CSS去调整风格。
- Element UI是一款基于Vue2.x 的界面框架;Element Plus是一款基于Vue3.x 的界面框架;
-
既然基于Vue,所以可以使用打包工具打包,例如 Vite或WePack
-
当然Element UI与有React及Angular的版本了。
二、Element UI 与 Element Plus区别?
- Element UI框架的升级版(3.x)是Element Plus;Element Plus 目前还处于快速开发迭代中
- 由于 Vue 3 不再支持 IE11,Element Plus 也不再支持 IE 浏览器
- Element-Plus 已经把vue的版本锁定了3.x;而Element UI是基于Vue 2.
三、Element UI 与 Element Plus使用
方式一、直接引用方式,引用其CSS及JS,还有vue.js即可:
<!DOCTYPE html>
<html>
<head>
  <meta charset="UTF-8">
  <!-- import CSS -->
  <link rel="stylesheet" href="https://unpkg.com/element-ui/lib/theme-chalk/index.css">
</head>
<body>
  <div id="app">
    <el-button @click="visible = true">Button</el-button>
    <el-dialog :visible.sync="visible" title="Hello world">
      <p>Try Element</p>
    </el-dialog>
  </div>
</body>
  <!-- import Vue before Element -->
  <script src="https://unpkg.com/vue@2/dist/vue.js"></script>
  <!-- import JavaScript -->
  <script src="https://unpkg.com/element-ui/lib/index.js"></script>
  <script>
    new Vue({
      el: '#app',
      data: function() {
        return { visible: false }
      }
    })
  </script>
</html>
方式二、使用npm加载,以下以Vue3.0为例:
1,创建一个Vue CLI项目:
2,添加element plus引用:
import { createApp } from 'vue'
import ElementPlus from 'element-plus'
import 'element-plus/dist/index.css'
//import zhCn from 'element-plus/dist/locale/zh-cn.mjs'
import en from 'element-plus/dist/locale/en.mjs'
import App from './App.vue'
const app = createApp(App)
//切换控件内部的语言
app.use(ElementPlus, {
    // locale:zhCn,
     locale:en,
  })
app.mount('#app')
3,创建一个控件Helloworld.vue:
<template>
  <div>
     <el-calendar v-model="value" />
  </div>
</template>
 import { ref } from 'vue'
 export default {
    name: 'HelloWorld',
    data: function() {
        return {
          value: ref(new Date())
        }
    },
    props: {
      msg: String
    }
}
4,调用Helloworld.vue:
<template>
   <HelloWorld msg="Welcome to Your Vue.js App"/>
</template>
<script>
  import HelloWorld from './components/HelloWorld.vue'
  export default{
    name: 'App',
    components: {
       HelloWorld
    }
  }
</script>
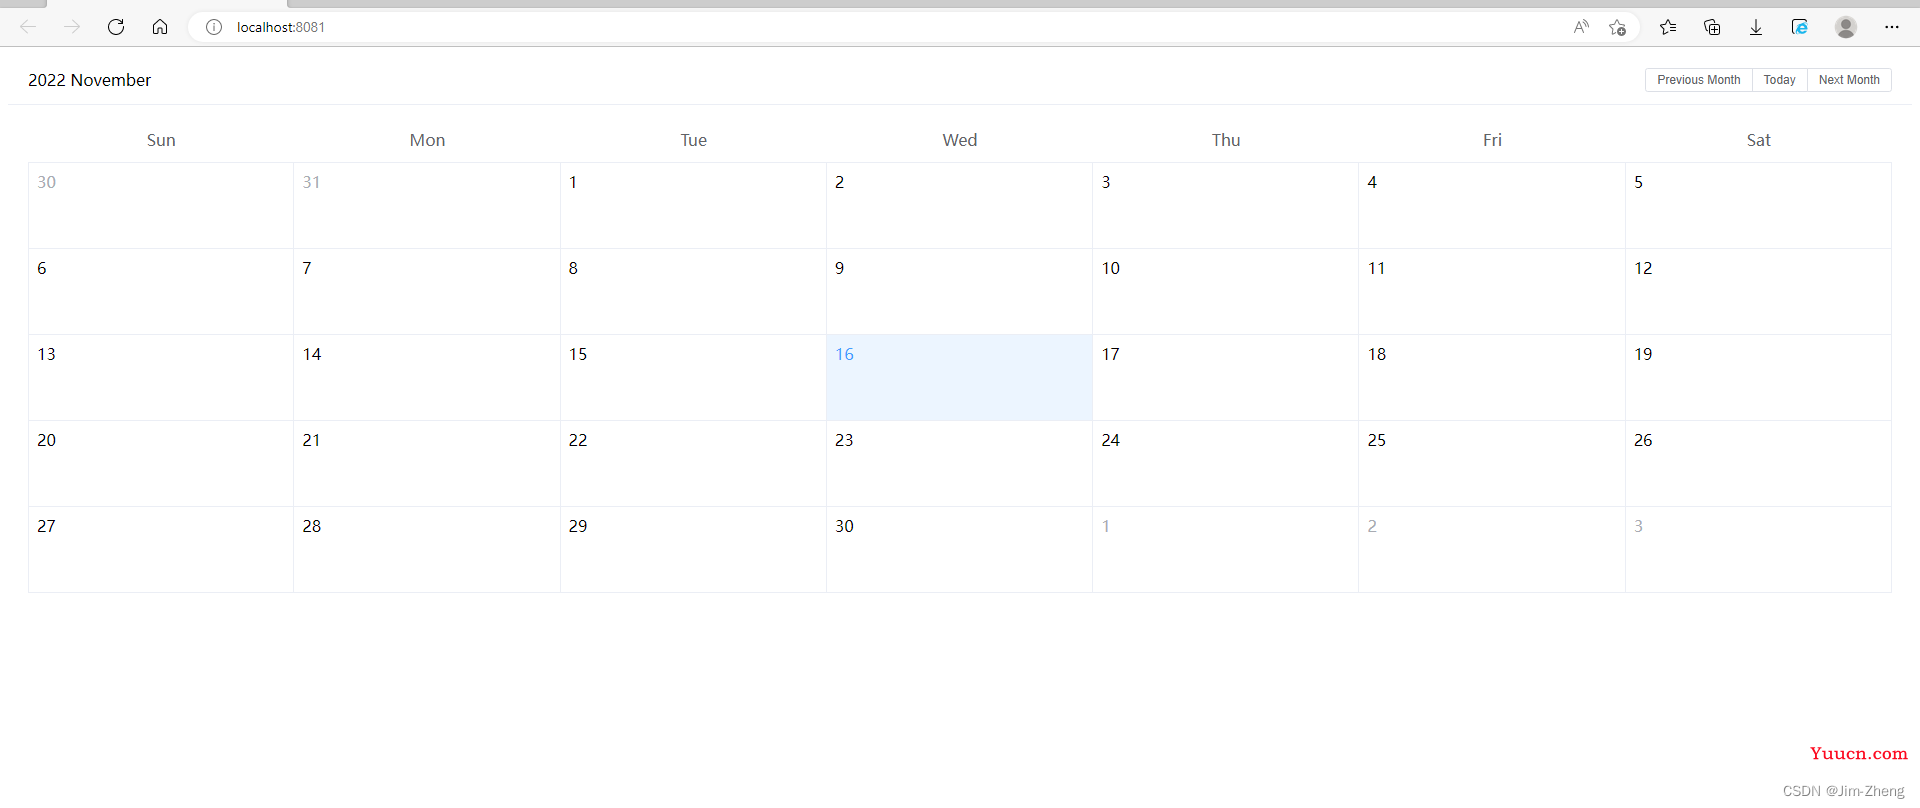
结果:

注意:
1,使用element plus的时候,发现有些组件不能使用。查到问题,发现script加了lang="ts".
<script lang="ts" setup>
这个是说明这个组件是基于typescript的。去掉这个 lang="ts",很多组件还是可以用的。
2,本人也尝试过安装typescript,但发现安装这个以后,语法需要遵循typescript的语法,且会自动将js文件变成.ts文件。不习惯,所以我又卸载了。
3,vue3.x支持使用export或<script stepup>的方式。但有些初始化数据,还是需要使用<script stepup>(不然会报错):
例如:
<template>
   <el-table :data="tableData" style="width: 100%">
    <el-table-column prop="date" label="Date" width="180" />
    <el-table-column prop="name" label="Name" width="180" />
    <el-table-column prop="address" label="Address" />
  </el-table>
</template>
 <script   setup>
        const tableData = [
                {
                    date: '2016-05-03',
                    name: 'Tom',
                    address: 'No. 189, Grove St, Los Angeles',
                },
                {
                    date: '2016-05-02',
                    name: 'Tom',
                    address: 'No. 189, Grove St, Los Angeles',
                },
                {
                    date: '2016-05-04',
                    name: 'Tom',
                    address: 'No. 189, Grove St, Los Angeles',
                },
                {
                    date: '2016-05-01',
                    name: 'Tom',
                    address: 'No. 189, Grove St, Los Angeles',
                }
        ]
   </script>
调用:
import {createRouter, createWebHashHistory} from "vue-router";
const  routes = [
    {
        path: "/",
        component: () => import("../views/HomePage.vue")
    },
    {
        path: "/home",
        component: () => import("../views/HomePage.vue")
    },
    {
        path: "/vip",
        component: () => import("../views/VipPage.vue")
    },
    {
        path: "/404",
        component: () => import("../views/ErrorPage.vue")
    },
    {
        path: "/:catchAll(.*)", // 不识别的path自动匹配404
        redirect: '/404',
    },
]
const router=createRouter({
    history: createWebHashHistory(),
    routes
})
export default router;
结果:
