如果文章对你有帮助欢迎【关注❤️❤️❤️点赞👍👍👍收藏⭐⭐⭐】一键三连!一起努力!
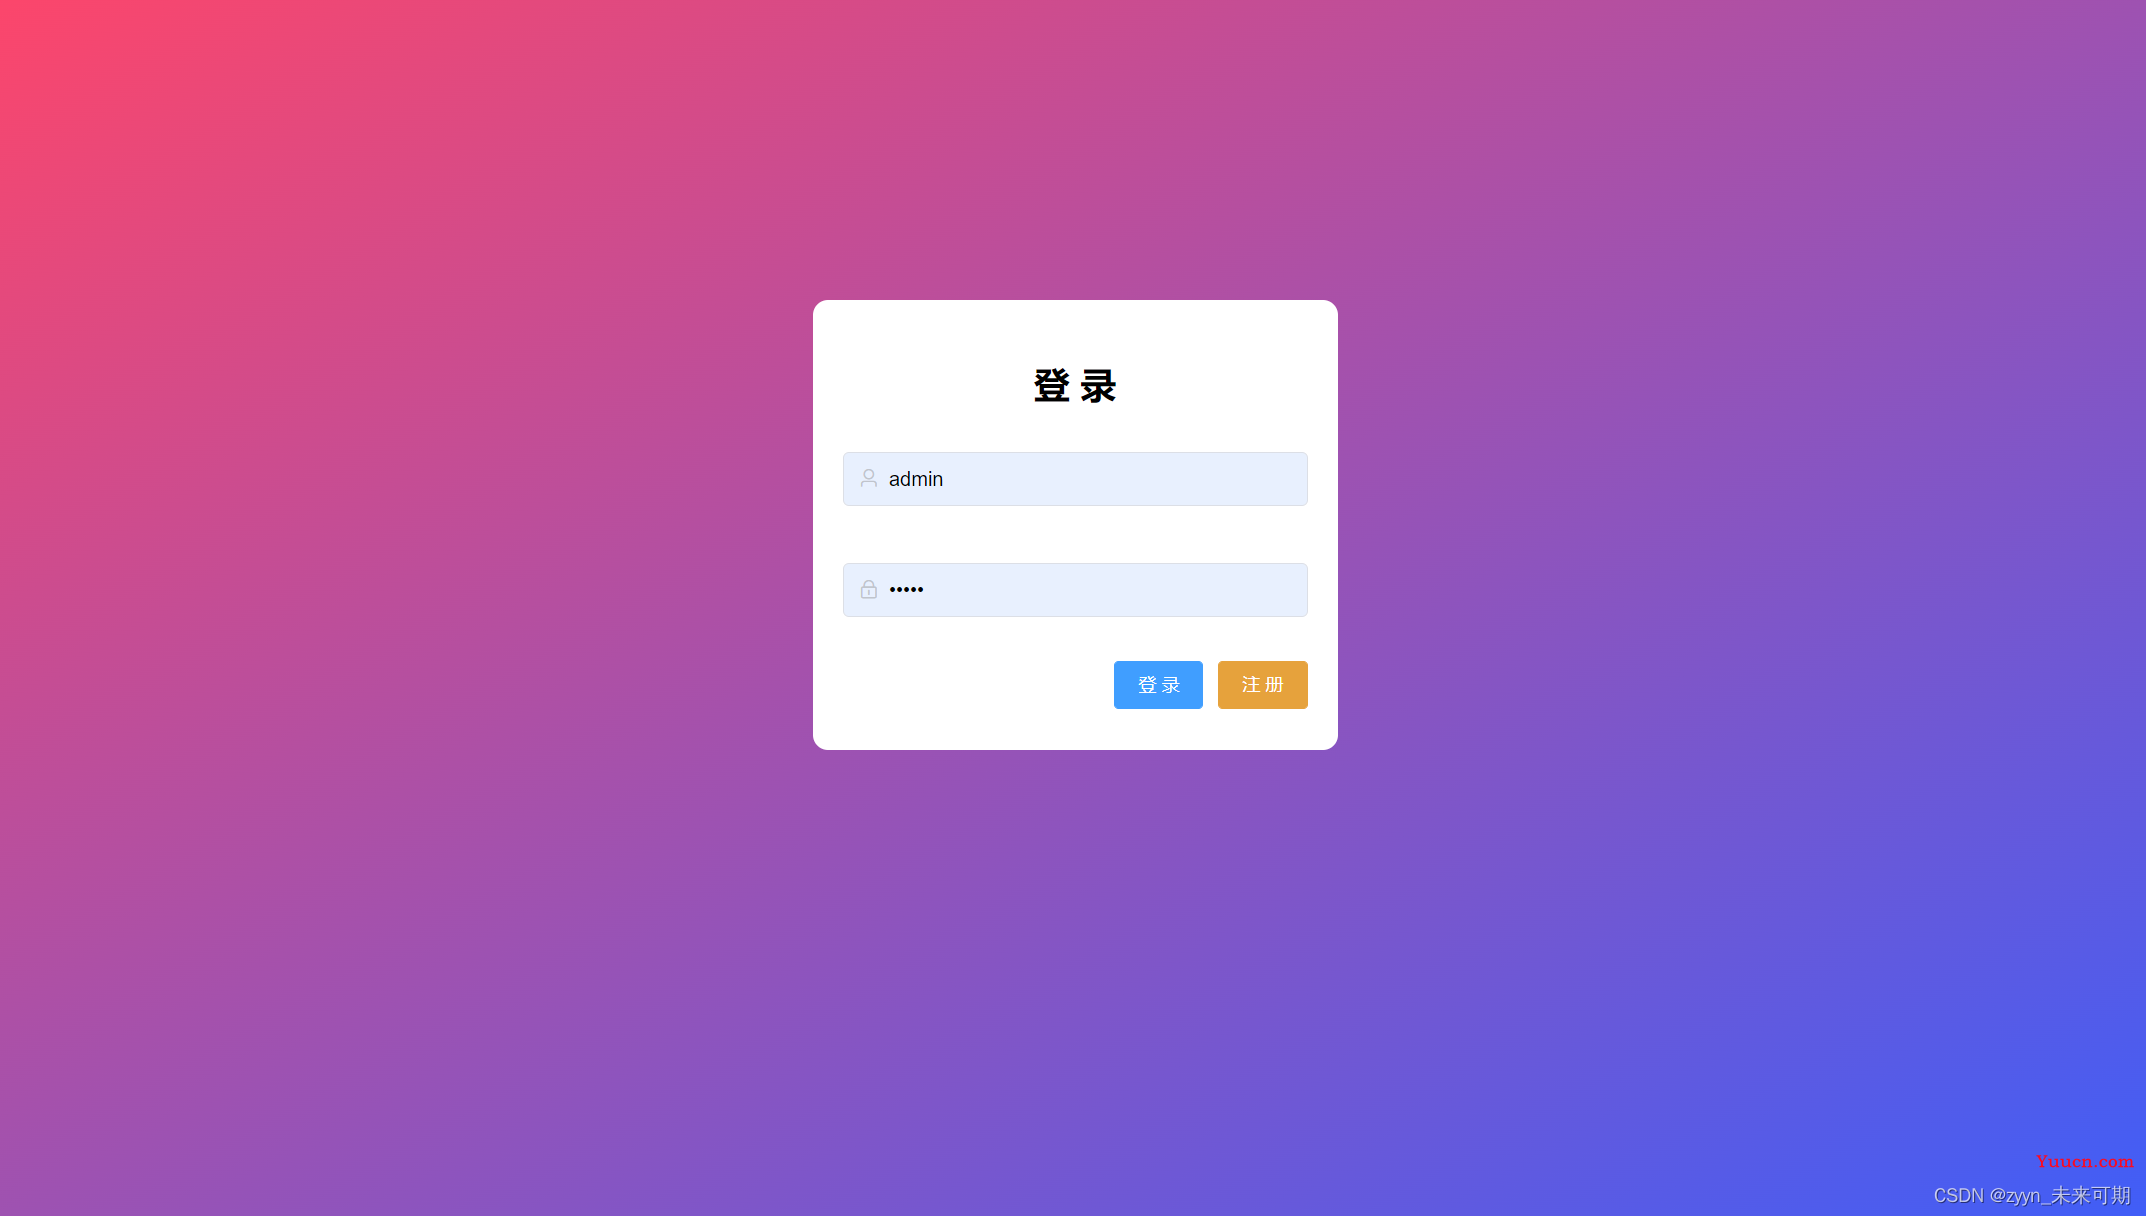
今天来为我自己的项目设置一个好看的登录页面之前是这样的:

乍一看感觉还行,越看越难受,弄一个好看的图片来做登录页面的背景提上日程,哈哈哈哈~
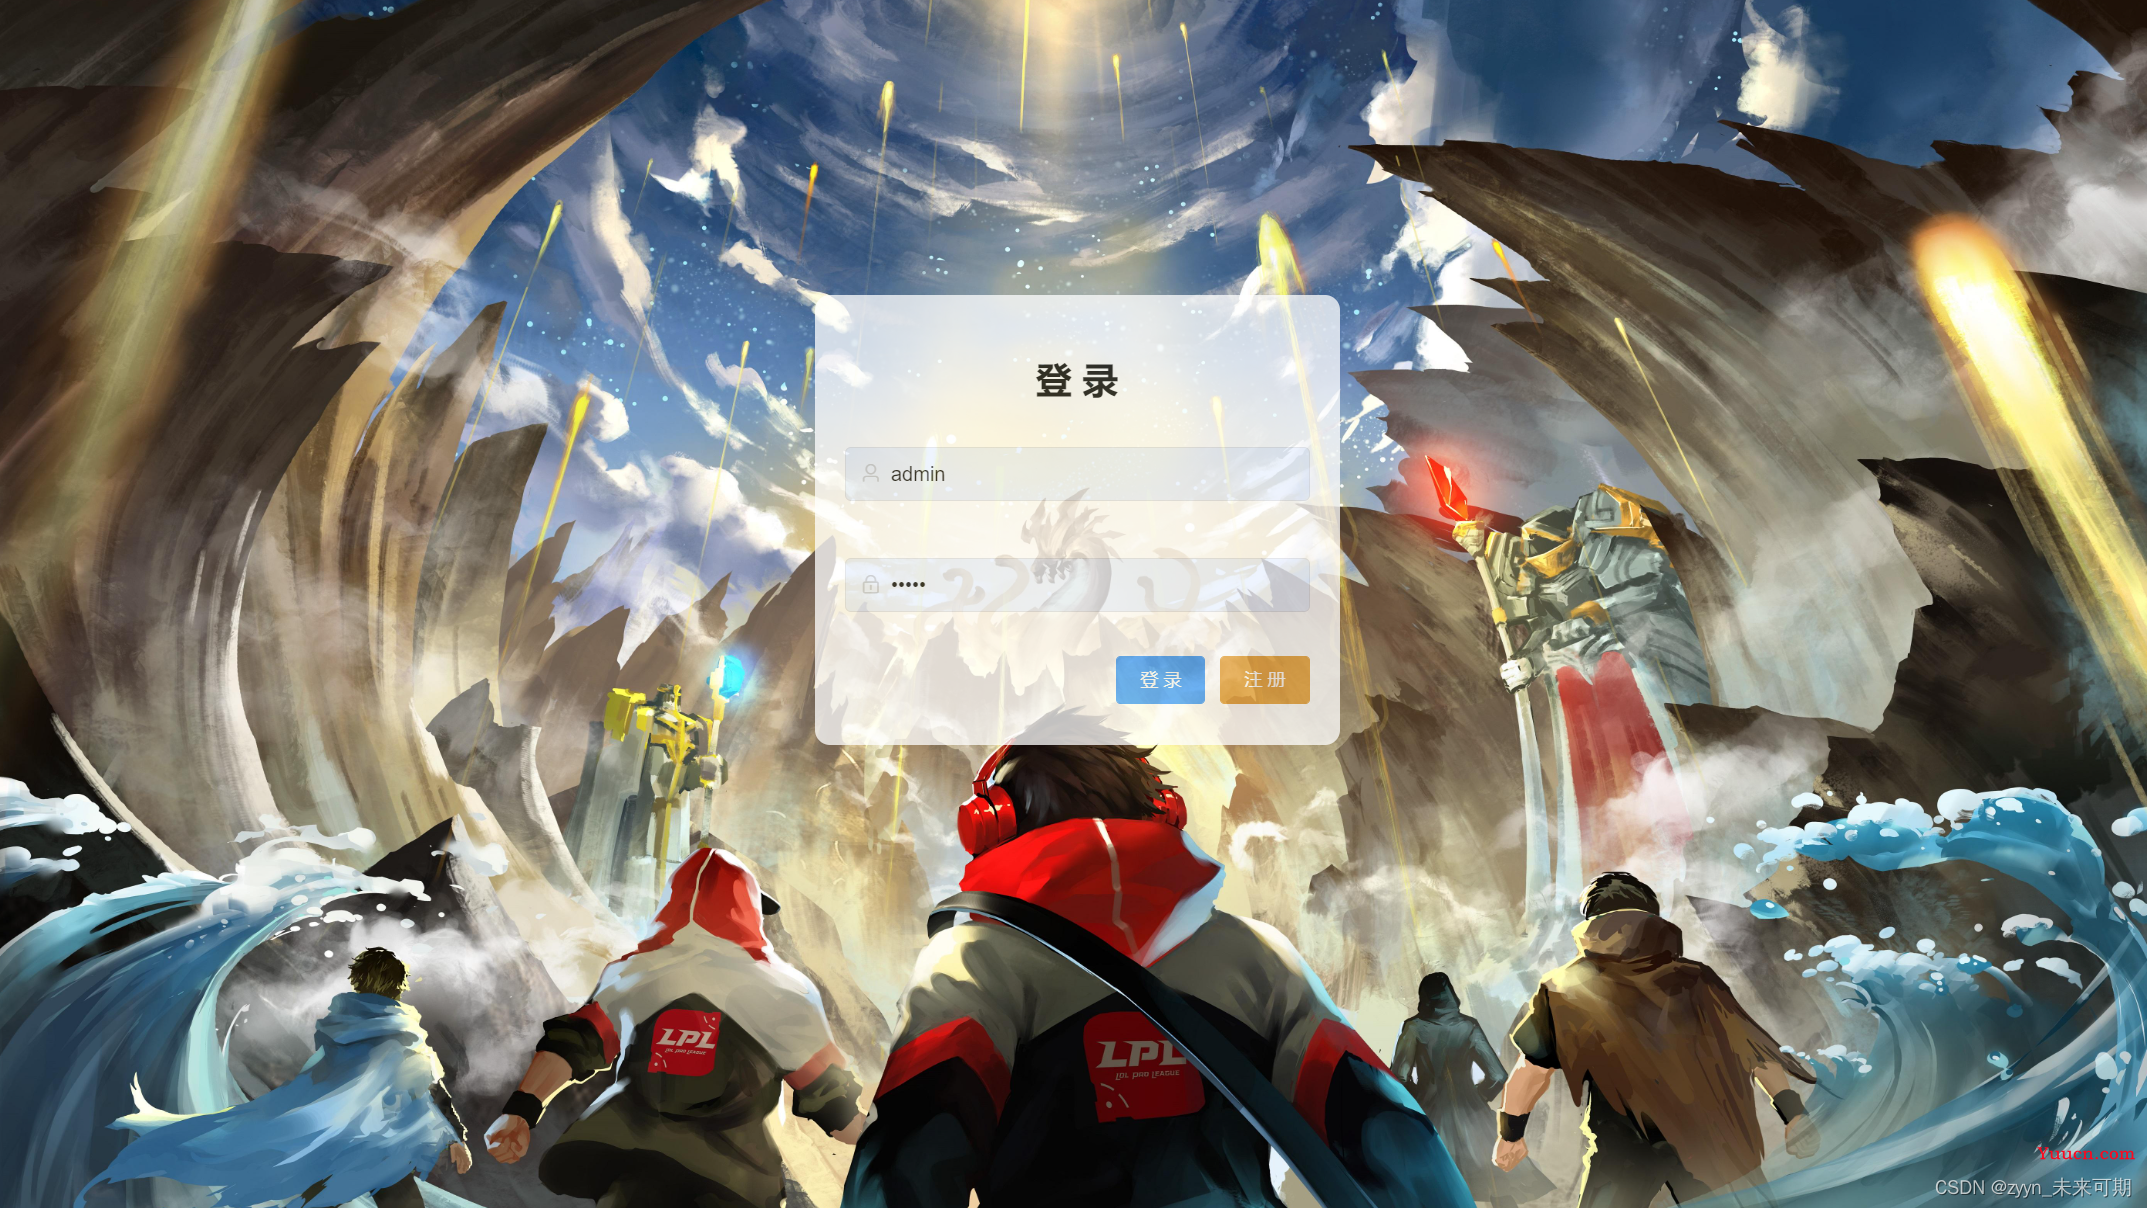
让我们先来看一下设置之后的效果:

怎么样怎么样家人们 , 是不是一下就感觉逼格上来了。
接下来我们直接上代码:
1、首先在自己的登录页面中加两个div标签
<div class="wrapper">
    //背景中的内容
    <div id="building">
    //放在这里的内容都会透明显示
    </div>
</div>
参考login页面:
<template>
  <div class="wrapper">
    <div id="building"
         style="margin: 200px auto; background-color: #fff; width: 350px; height: 300px; padding: 20px; border-radius: 10px">
      <div style="margin: 20px 0; text-align: center;font-size: 24px"><b>登 录</b></div>
      <el-form :model="user" :rules="rules" ref="ruleForm">
        <el-form-item prop="username">
          <el-input size="medium" style="margin: 10px 0" prefix-icon="el-icon-user" v-model="user.username"></el-input>
        </el-form-item>
        <el-form-item prop="password">
          <el-input size="medium" style="margin: 10px 0" prefix-icon="el-icon-lock" show-password
                    v-model="user.password"></el-input>
        </el-form-item>
        <el-form-item style="margin: 10px 0; text-align: right">
          <el-button type="primary" size="small" autocomplete="off" @click="login">登 录</el-button>
          <el-button type="warning" size="small" autocomplete="off" @click="$router.push('/register')">注 册</el-button>
        </el-form-item>
      </el-form>
    </div>
  </div>
</template>
2、css样式如下
<style>
.wrapper {
  /*渐变的背景色*/
  /*height: 100vh;
  background-image: linear-gradient(to bottom right, #FC466B, #3F5EF8);
  overflow: hidden;*/
  /*背景图*/
  background: url("../assets/login-background.jpg");
  width: 100%;
  height: 100%;
  position: fixed;
  background-size: 100% 100%;
}
#building {
  /*设置透明度,0为完全透明,1为不透明*/
  opacity: 0.75;
}
</style>
感谢各位家人的观看喜欢的话点帮忙点赞👍👍👍哦