文章目录
- 前言
- SpringBoot核心源码
- 拓展Initializer
- 拓展监听器ApplicationListener
- BeanFactory的后置处理器 & Bean的后置处理器
- AOP
- 其他的拓展点
前言
- 当我们引入注册中心的依赖,比如nacos的时候,当我们启动springboot,这个服务就会根据配置文件自动注册到注册中心中,这个动作是如何完成的?
- 注册中心使用了SpringBoot中的事件监听机制,在springboot初始化的时候完成服务注册
SpringBoot核心源码
public SpringApplication(ResourceLoader resourceLoader, Class<?>... primarySources) {
    ...
    this.primarySources = new LinkedHashSet(Arrays.asList(primarySources));
    // Servlet
    this.webApplicationType = WebApplicationType.deduceFromClasspath();
    this.bootstrapRegistryInitializers = new ArrayList(this.getSpringFactoriesInstances(BootstrapRegistryInitializer.class));
    // 注意这里,Initializers
    this.setInitializers(this.getSpringFactoriesInstances(ApplicationContextInitializer.class));
    // 注意这里 Listeners
    this.setListeners(this.getSpringFactoriesInstances(ApplicationListener.class));
    this.mainApplicationClass = this.deduceMainApplicationClass();
}
我们可以看到空的SpringBoot项目有一些initializers以及一些listeners

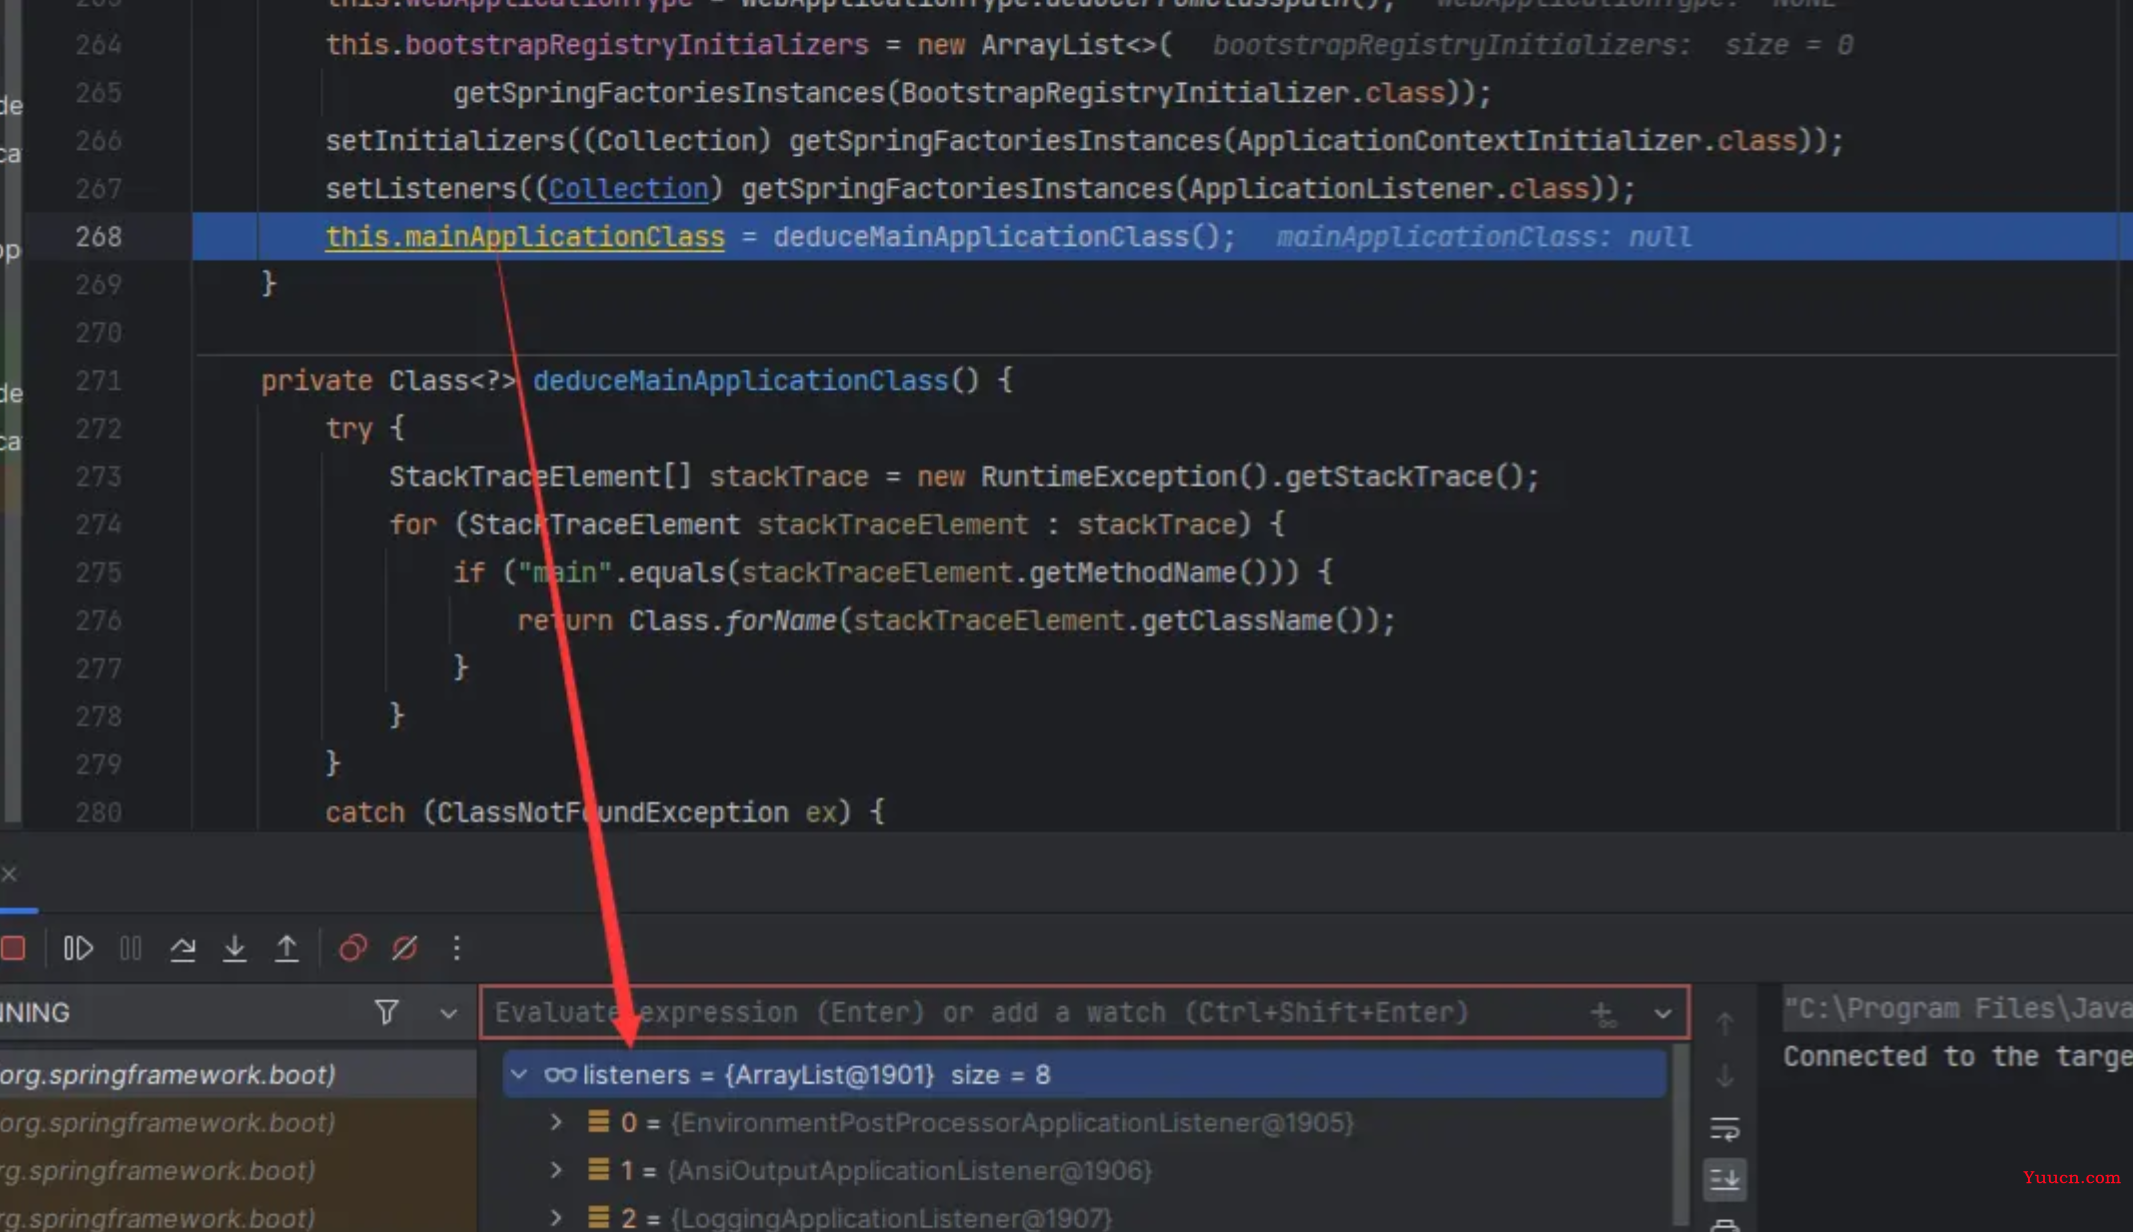
注意这两行,换言之我们只要实现这两个类就可以自定义拓展SpringBoot了!

这里和手写Starter都是对SpringBoot的拓展,有兴趣的小伙伴可以看这篇文章
拓展Initializer
再看这张图

我们需要研究一下ApplicationContextInitializer这个类:
@FunctionalInterface
public interface ApplicationContextInitializer<C extends ConfigurableApplicationContext> {
    /**
    * Initialize the given application context.
    * @param applicationContext the application to configure
    */
    void initialize(C applicationContext);
}
这样就很清晰了,我们尝试手写一个继承类:
public class DemoInitializer implements ApplicationContextInitializer {
    @Override
    public void initialize(ConfigurableApplicationContext applicationContext) {
        System.out.println("自定义初始化器执行...");
        ConfigurableEnvironment environment =
        applicationContext.getEnvironment();
        Map<String, Object> map = new HashMap<>(1);
        map.put("name", "sccccc");
        environment.getPropertySources().addLast(new
        MapPropertySource("DemoInitializer", map));
        System.out.println("DemoInitializer execute, and add some property");
    }
}
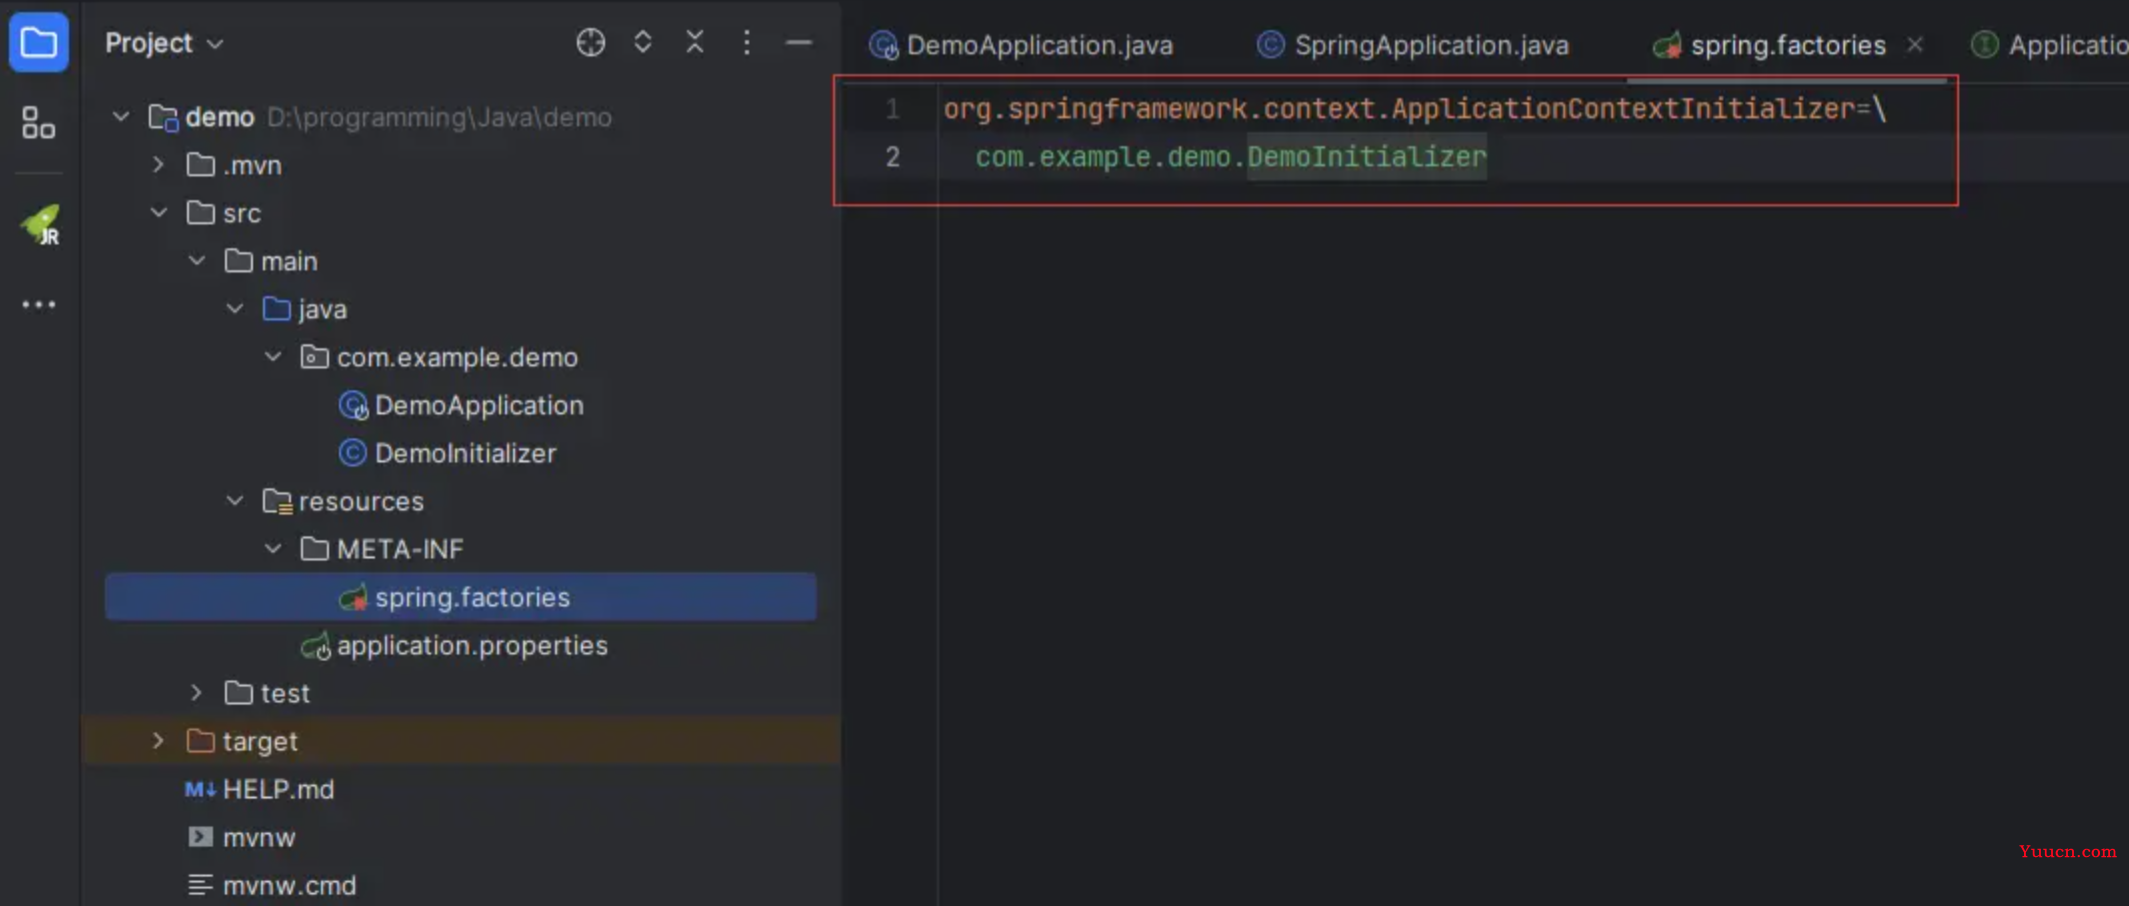
通过SPI机制将自定义初始化器交给list集合initializers
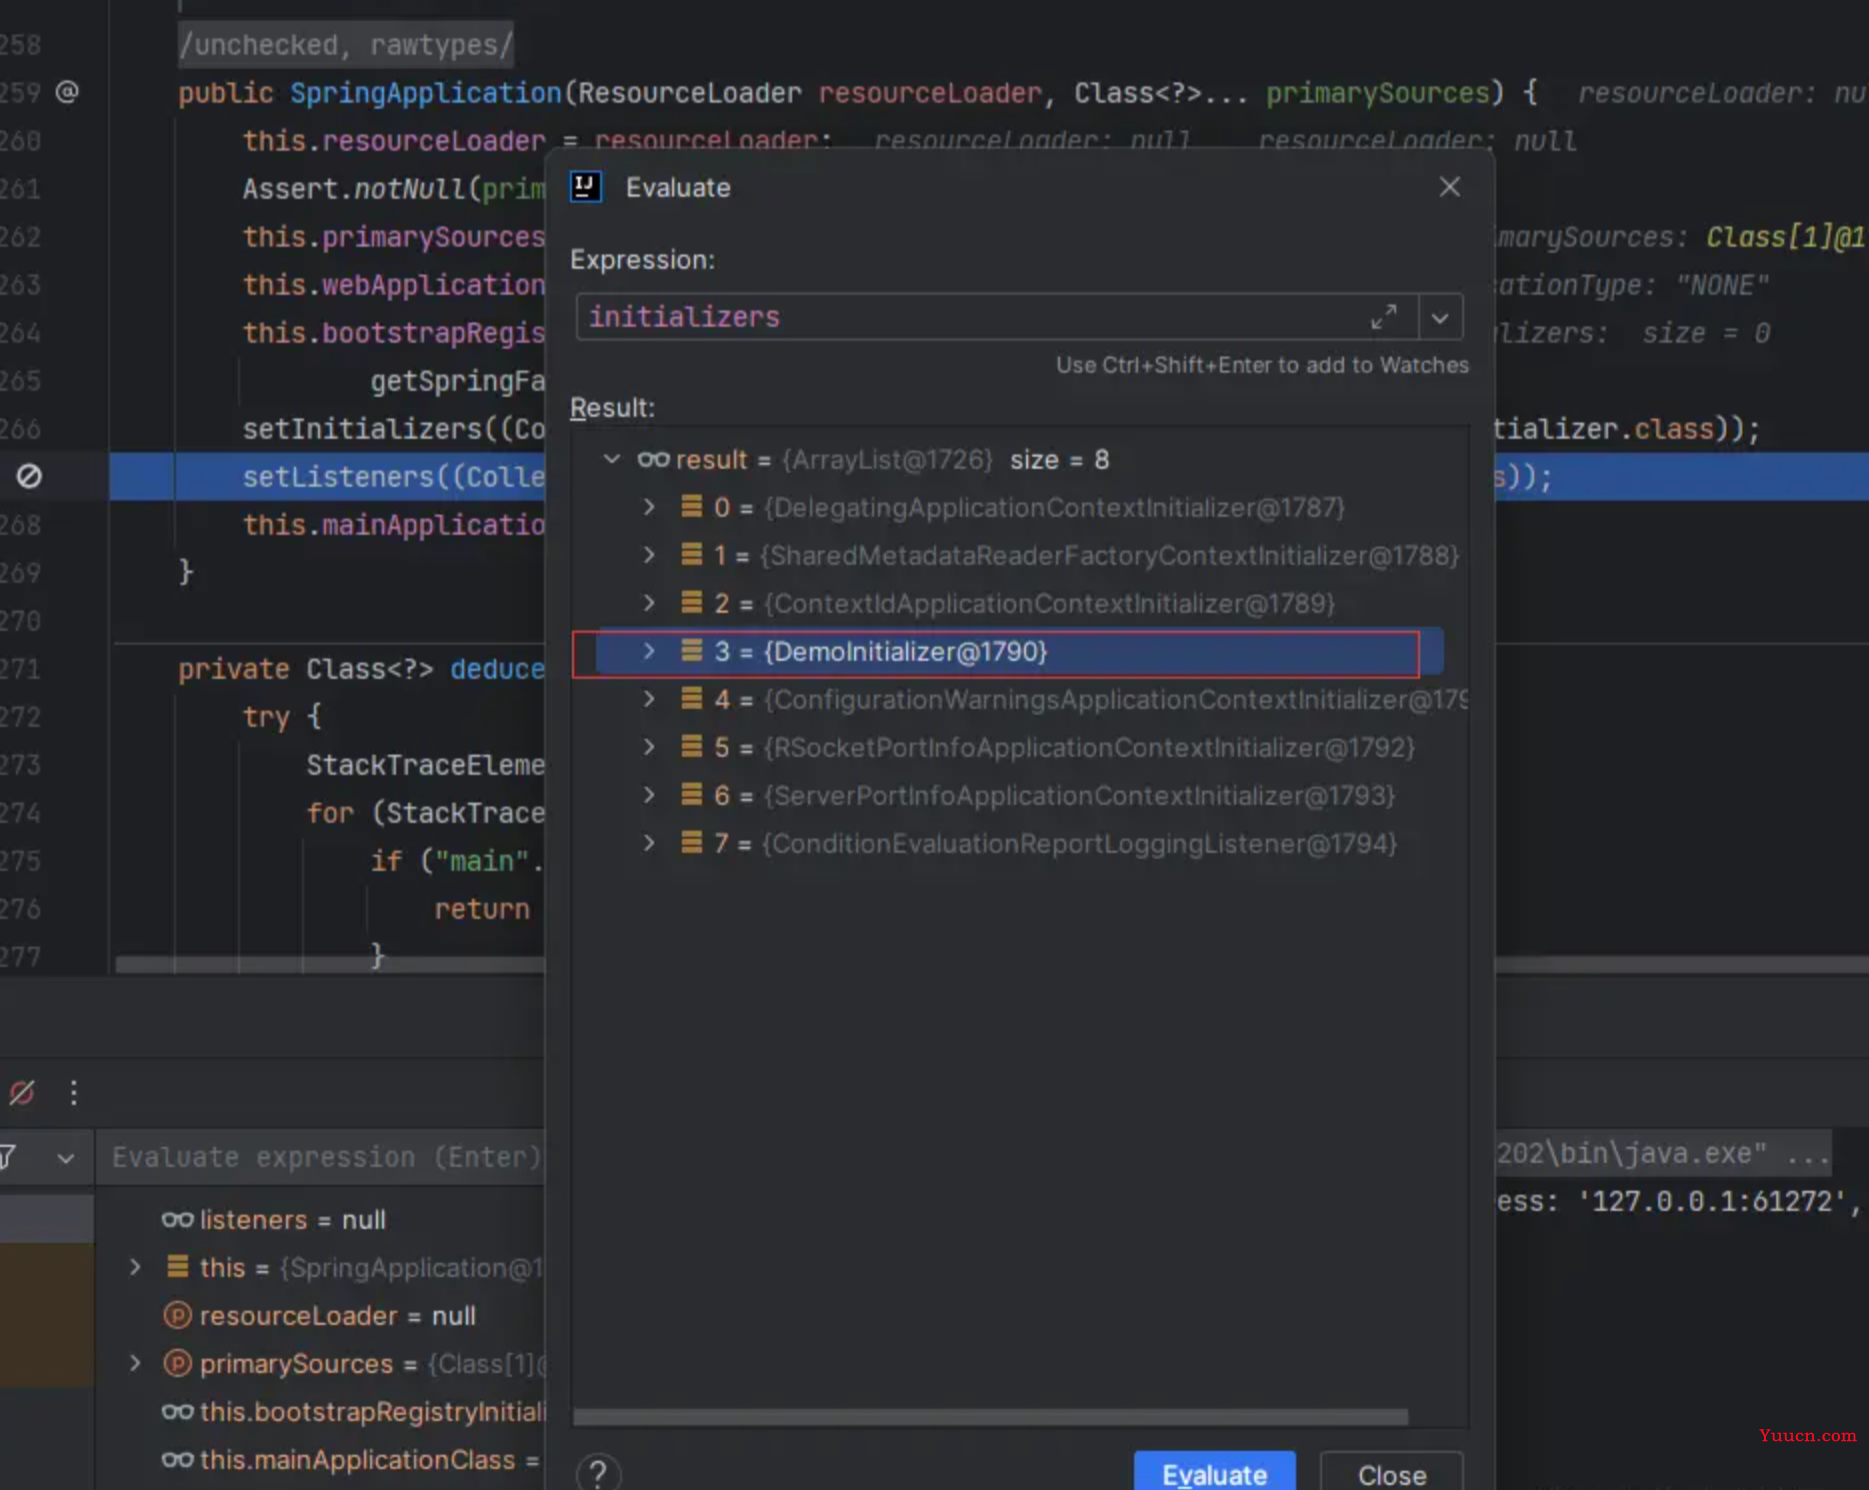
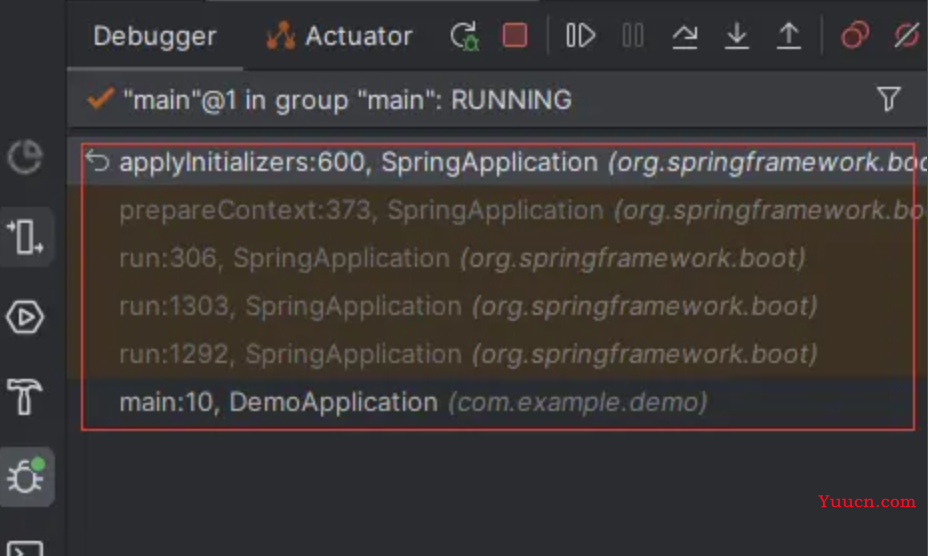
然后再debug,就会发现:
最后经过一次回调:
private void prepareContext(DefaultBootstrapContext bootstrapContext, ConfigurableApplicationContext context,
    ...
    applyInitializers(context);
    ...
    // Add boot specific singleton beans
    下面是beanFactory的操作
遍历所有的初始化器,然后
/**
* Apply any {@link ApplicationContextInitializer}s to the context before it is
* refreshed.
* @param context the configured ApplicationContext (not refreshed yet)
* @see ConfigurableApplicationContext#refresh()
*/
@SuppressWarnings({ "rawtypes", "unchecked" })
protected void applyInitializers(ConfigurableApplicationContext context) {
    for (ApplicationContextInitializer initializer : getInitializers()) {
        Class<?> requiredType = GenericTypeResolver.resolveTypeArgument(initializer.getClass(),
        ApplicationContextInitializer.class);
        Assert.isInstanceOf(requiredType, context, "Unable to call initializer.");
        initializer.initialize(context);
    }
}
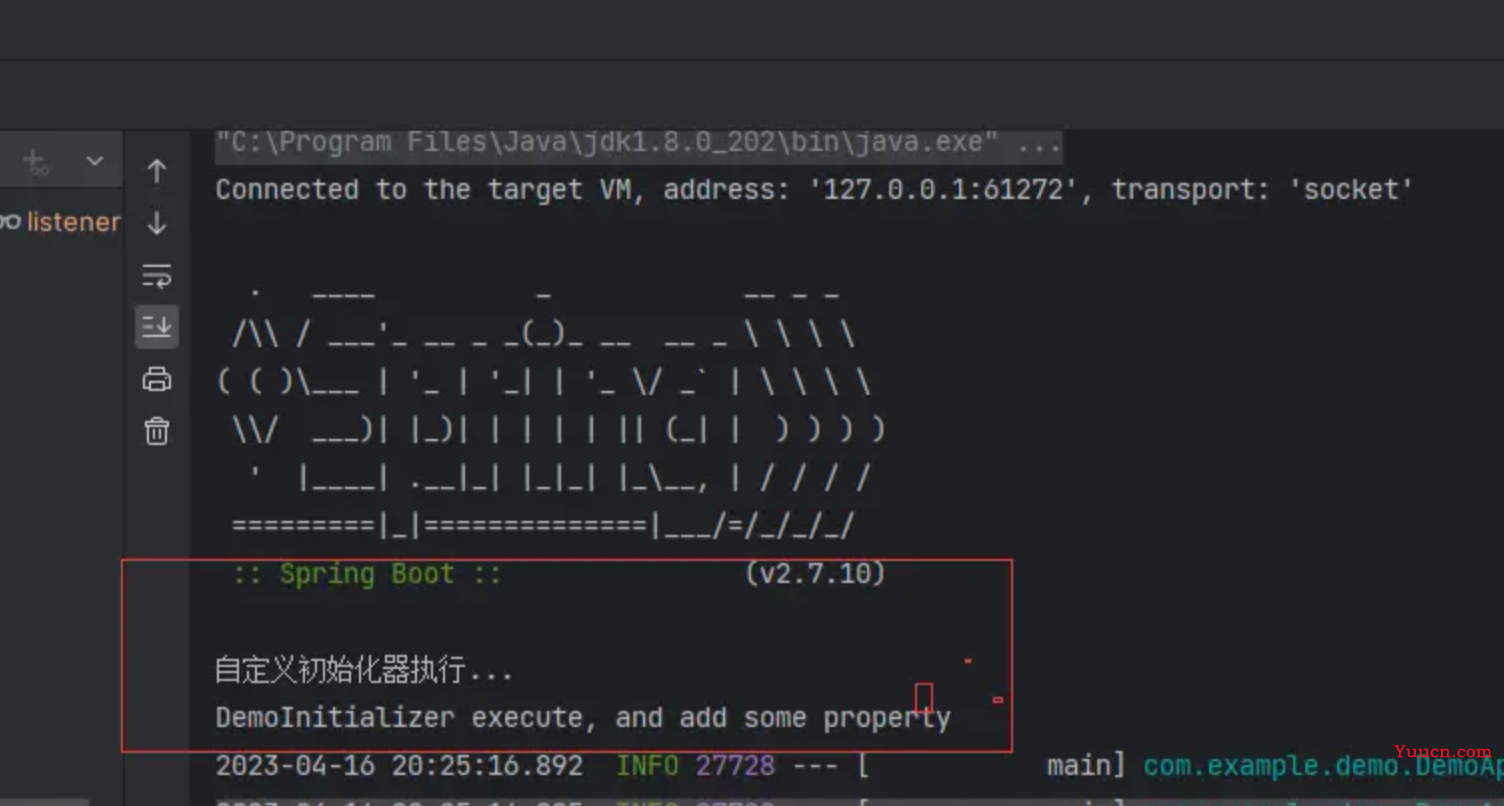
流程:
拓展监听器ApplicationListener

@FunctionalInterface
public interface ApplicationListener<E extends ApplicationEvent> extends EventListener {
    /**
    * Handle an application event.
    */
    void onApplicationEvent(E event);
    /**
    * Create a new {@code ApplicationListener} for the given payload consumer.
    */
    static <T> ApplicationListener<PayloadApplicationEvent<T>> forPayload(Consumer<T> consumer) {
        return event -> consumer.accept(event.getPayload());
    }
}
这里和上面initializer一样,就不演示了
BeanFactory的后置处理器 & Bean的后置处理器
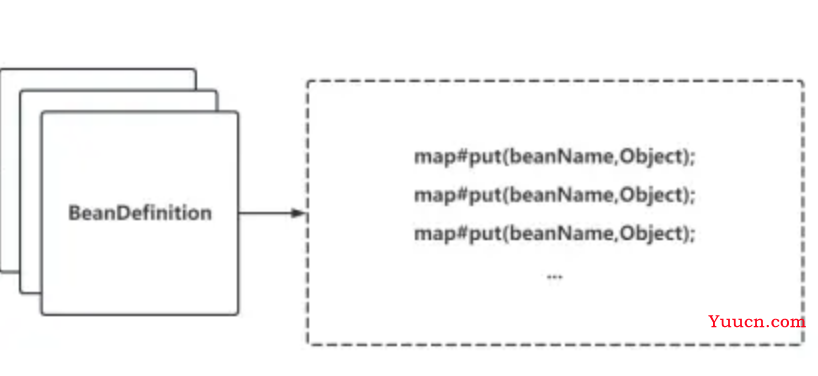
Spring Boot解析配置成BeanDefinition的操作在invokeBeanFactoryPostProcessors方法中
自定义BeanFactory的后置处理器:
@Component
public class MyBeanFactoryPostProcessor implements BeanFactoryPostProcessor {
    @Override
    public void postProcessBeanFactory(ConfigurableListableBeanFactory
    beanFactory) throws BeansException {
        Arrays.asList(beanFactory.getBeanDefinitionNames())
        .forEach(beanDefinitionName ->
        System.out.println(beanDefinitionName));
        System.out.println("BeanFactoryPostProcessor...");
    }
}
自定义Bean的后置处理器:
@Component
public class MyBeanPostProcessor implements BeanPostProcessor {
    @Override
    public Object postProcessBeforeInitialization(Object bean, String beanName)
    throws BeansException {
        if(beanName.equals("userController")){
            System.out.println("找到了userController: "+bean);
        }
        return null;
    }
}
AOP
这个相信大家用的比较多,可以自定义切面:
@Aspect
@Component
public class LogAspect {
// 切入点 Pointcut   可以对Service服务做切面
@Pointcut("execution(* com.example.service.*.*(..))")
public void mypointcut(){}
// 前置通知
@Before(value = "mypointcut()")
public void before(JoinPoint joinPoint){
    System.out.println("[前置通知] 准备开始记录日志...");
    System.out.println("[前置通知] 目标类是: "+joinPoint.getTarget());
    System.out.println("[前置通知] 目标方法是:
    "+joinPoint.getSignature().getName());
}
// 后置通知
@AfterReturning(value = "mypointcut()")
public void afterReturning(JoinPoint joinPoint){
    System.out.println("[后置通知] 记录日志完成...");
    System.out.println("[后置通知] 目标类是: "+joinPoint.getTarget());
    System.out.println("[后置通知] 目标方法是:
    "+joinPoint.getSignature().getName());
}
/*@Around(value = "mypointcut()")
public void around(ProceedingJoinPoint joinPoint){
    System.out.println("[环绕通知] 日志记录前的操作...");
    try {
        joinPoint.proceed();
        System.out.println("[环绕通知] 日志记录后的操作...");
        System.out.println("[环绕通知] "+joinPoint.getTarget());
        System.out.println("[环绕通知] "+joinPoint.getSignature().getName());
    } catch (Throwable throwable) {
        System.out.println("[环绕通知] 发生异常的操作...");
        throwable.printStackTrace();
    }finally {
        ...
    }
}
其他的拓展点
- Banner
方法地址:
printBanner(env)->bannerPrinter.print->SpringBootBanner#printBanner
可以在resource目录下建立banner.txt文件夹实现自定义Banner
- Runners
流程:
自定义:
@Component
public class JackApplicationRunner implements ApplicationRunner {
    @Override
    public void run(ApplicationArguments args) throws Exception {
        System.out.println("JackApplicationRunner...");
    }
}